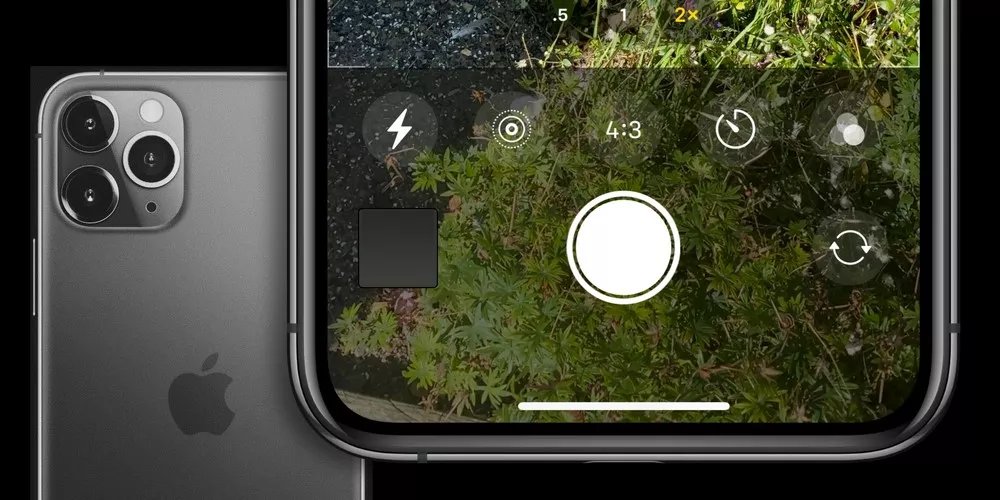
If you’re anything like me, your iPhone is constantly filled to the brim with photos and videos. And while I love having all my memories at my fingertips, it can be a bit of a pain trying to keep track of everything. So, in this blog post, I’m going to show you how to free up some space on your iPhone by transferring home videos to your camera roll.
However, there are a few information, deals and trends about Apple product. Yiphoneapps is a blog having quality posts about Apple trends and updates written by experienced writers.
First, open up the Settings app on your iPhone and scroll down to the Photos & Camera section. Then, tap on the “Transfer to Mac or PC” option.
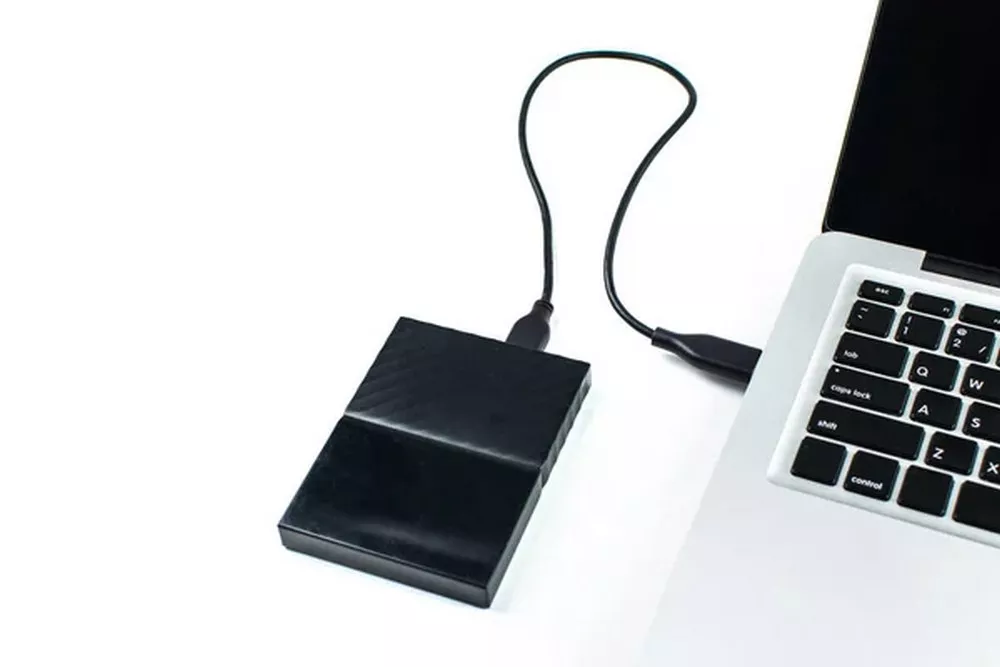
Next, connect your iPhone to your computer using a USB cable. Once it’s connected, open up iPhoto on your Mac or Windows Photo Gallery on your PC.
Then, select the “Import” option and choose the “iPhone” option from the list of devices.
Finally, select the home video that you want to transfer and click the “Import” button.
And that’s it! Now you’ve successfully transferred a home video from your iPhone to your computer.
If you’re anything like me, your iPhone is constantly filled to the brim with photos and videos. And while I love having all my memories at my fingertips, it can be a bit of a pain trying to keep my phone’s storage from getting overloaded. One way to help free up some space is to transfer home videos from your iPhone to your camera roll. Here’s how:
Connect your iPhone to your computer using a Lightning cable.
Open up iPhoto (or the Photos app if you’re using a PC).
Select the video you want to transfer in the iPhoto sidebar.
Click the “Export” button in the top-right corner of the iPhoto window.
Choose “Export Unmodified Original” from the drop-down menu.
Select your computer’s “Pictures” folder (or wherever you want to save the video) and click “Export.”
And that’s it! The video will now be saved to your computer, and you can delete it from your iPhone to free up some space.