3D Art

How To Get Started With Pixel Art 3D

How To Get Started With Pixel Art 3D

Pixel Art 3D is a great way to add some flair to your photos and images. With Pixel Art 3D, you can easily add 3D pixels to any photo or image. The best part about Pixel Art 3D is that it’s very easy to use. In this article, we’ll show you how to get started with Pixel Art 3D.

However, there are a few tips and tricks on art, design or photography. SkullsofHeaven is the one-stop resource for images design, photography news, tips, learn photo techniques and camera buying guides from professional to amateur photographers.

To get started, you’ll need to download the Pixel Art 3D app. Once you have the app installed, open it up and you’ll see a menu of options.

The first thing you’ll need to do is select the image you want to add 3D pixels to. You can either choose an image from your camera roll or you can take a new photo.

Once you’ve selected an image, you’ll need to choose the 3D pixels you want to add. There are a variety of different pixels to choose from. You can also choose the color of the pixels.

After you’ve chosen the pixels you want to use, you’ll need to position them on the image. You can move the pixels around and resize them as needed.

Once you’re happy with the position of the pixels, you’ll need to tap the “Apply” button. This will add the 3D pixels to your image.

And that’s all there is to it! You can now share your newly created Pixel Art 3D image with your friends and family.

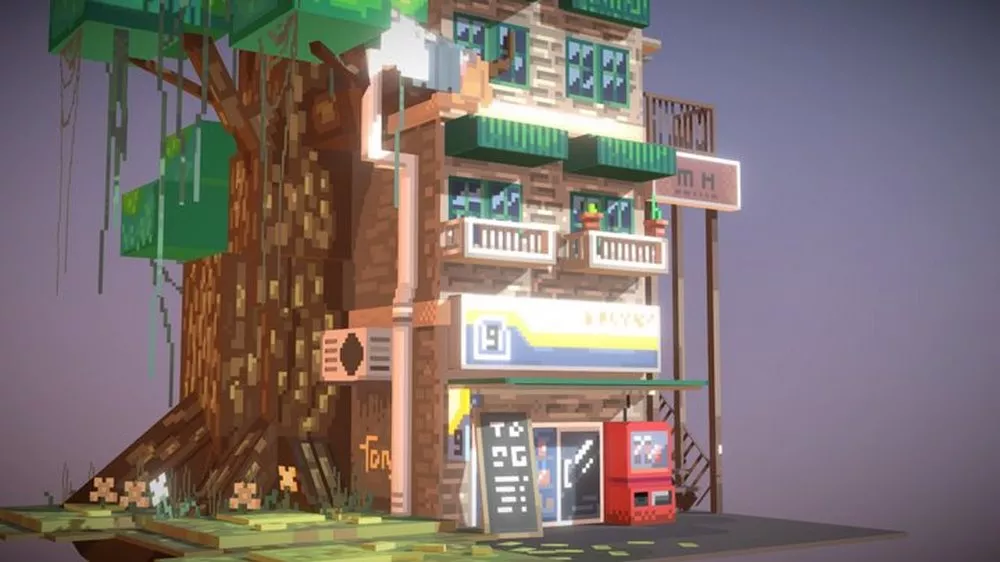
Pixel art is a type of digital art where artists use very small pixels to create images. The pixels are so small that they often appear to be a single color, but when viewed up close, they can be seen to be made up of many different colors.

Pixel art can be used to create both 2D and 3D images, and is often used in video games and other digital media.

If you’re interested in creating pixel art, the best place to start is with a software program like Photoshop or GIMP. These programs will allow you to create and edit images on a pixel-by-pixel basis.

Once you’ve downloaded and installed a pixel art program, you’ll need to find some reference material to work from. This could be anything from photographs to drawings or even other pixel art images.

Once you have your reference material, you can start to create your own pixel art. Begin by creating a new image, and then use the pencil or brush tool to start drawing your pixels.

Remember to zoom in close to your image so that you can see each individual pixel. As you draw, you can experiment with different colors and shading to create different effects.

Once you’re happy with your image, you can save it and share it with the world!

Ipad

What Features Make The IPad Pro Ideal For Students?

What Features Make The IPad Pro Ideal For Students?

As a student myself, I can say with certainty that the iPad Pro has completely changed the game when it comes to school work. Here are five reasons why the iPad Pro is perfect for students:

The iPad Pro is super light and portable, making it perfect for lugging around to and from classes. It also has an incredibly long battery life, so you can be sure it won’t die on you in the middle of a lecture.

However, there are a few information, deals and trends about Apple product. Yiphoneapps is a blog having quality posts about Apple trends and updates written by experienced writers.

The iPad Pro comes with Apple’s Pencil, which makes taking notes and drawing diagrams a breeze. The Pencil is also great for annotating PDFs and other digital documents.

The iPad Pro’s large screen is perfect for viewing lectures slides and videos, as well as for working on projects and papers. The iPad Pro’s split screen feature also allows you to have two apps open side-by-side, so you can take notes on one side while viewing a lecture on the other.

The iPad Pro is powerful enough to run demanding apps like Adobe Photoshop and AutoCAD, making it a great tool for students in design and engineering programs.

Finally, the iPad Pro is compatible with a wide range of accessories, including keyboards and the Apple Pencil. This makes the iPad Pro a versatile tool that can be used for everything from taking notes to creating detailed designs.

The iPad Pro is the perfect device for students. It is packed with features that make it ideal for taking notes, reading textbooks, and researching papers. Here are some of the features that make the iPad Pro perfect for students:

-The iPad Pro has a large, beautiful display that is perfect for reading textbooks and taking notes.

-The iPad Pro is lightweight and portable, making it easy to take with you to class or the library.

-The iPad Pro has a long battery life, so you can use it all day without having to worry about recharging.

-The iPad Pro comes with Apple Pencil, which makes taking notes and writing papers a breeze.

-The iPad Pro has powerful processors and plenty of storage, so you can store all of your textbooks and class materials on the device.

-The iPad Pro runs iOS, so you have access to all of the latest apps and features that Apple has to offer.

If you are a student, the iPad Pro is the perfect device for you. It has all of the features that you need to be successful in school.